
For The Museum Comes To Life, I wanted my gentlemen to dress as gentlemen would have in the summer with Plus 2s! I didn't have the time or the inclination to make the knickerbockers from "scratch", so I decided to alter pairs of pants purchased at thrift stores.

Pants before the mutation begins! Bwahahahaha....

Here is my Colton in linen pants. The color and fabric of these pants were perfect for the era and what I had in mind.

Ok, so you have to really look hard to see the pin with the pink head...this is where I measured 1.5" below his knee cap.

This pair of pants had a cuff. I would be measuring up from the "absolute" bottom of the pants (or the hem) so I clipped stitching that anchored the cuff up and opened the cuff out...

Opened cuff...I ironed the crease out and then had a nice place to measure up from.

Using a blue disappearing pen, I marked up to where the original 1.5" below the knee cap point was. That ended up being 11" up from the hem. I marked 11" up all the way around the pant leg.

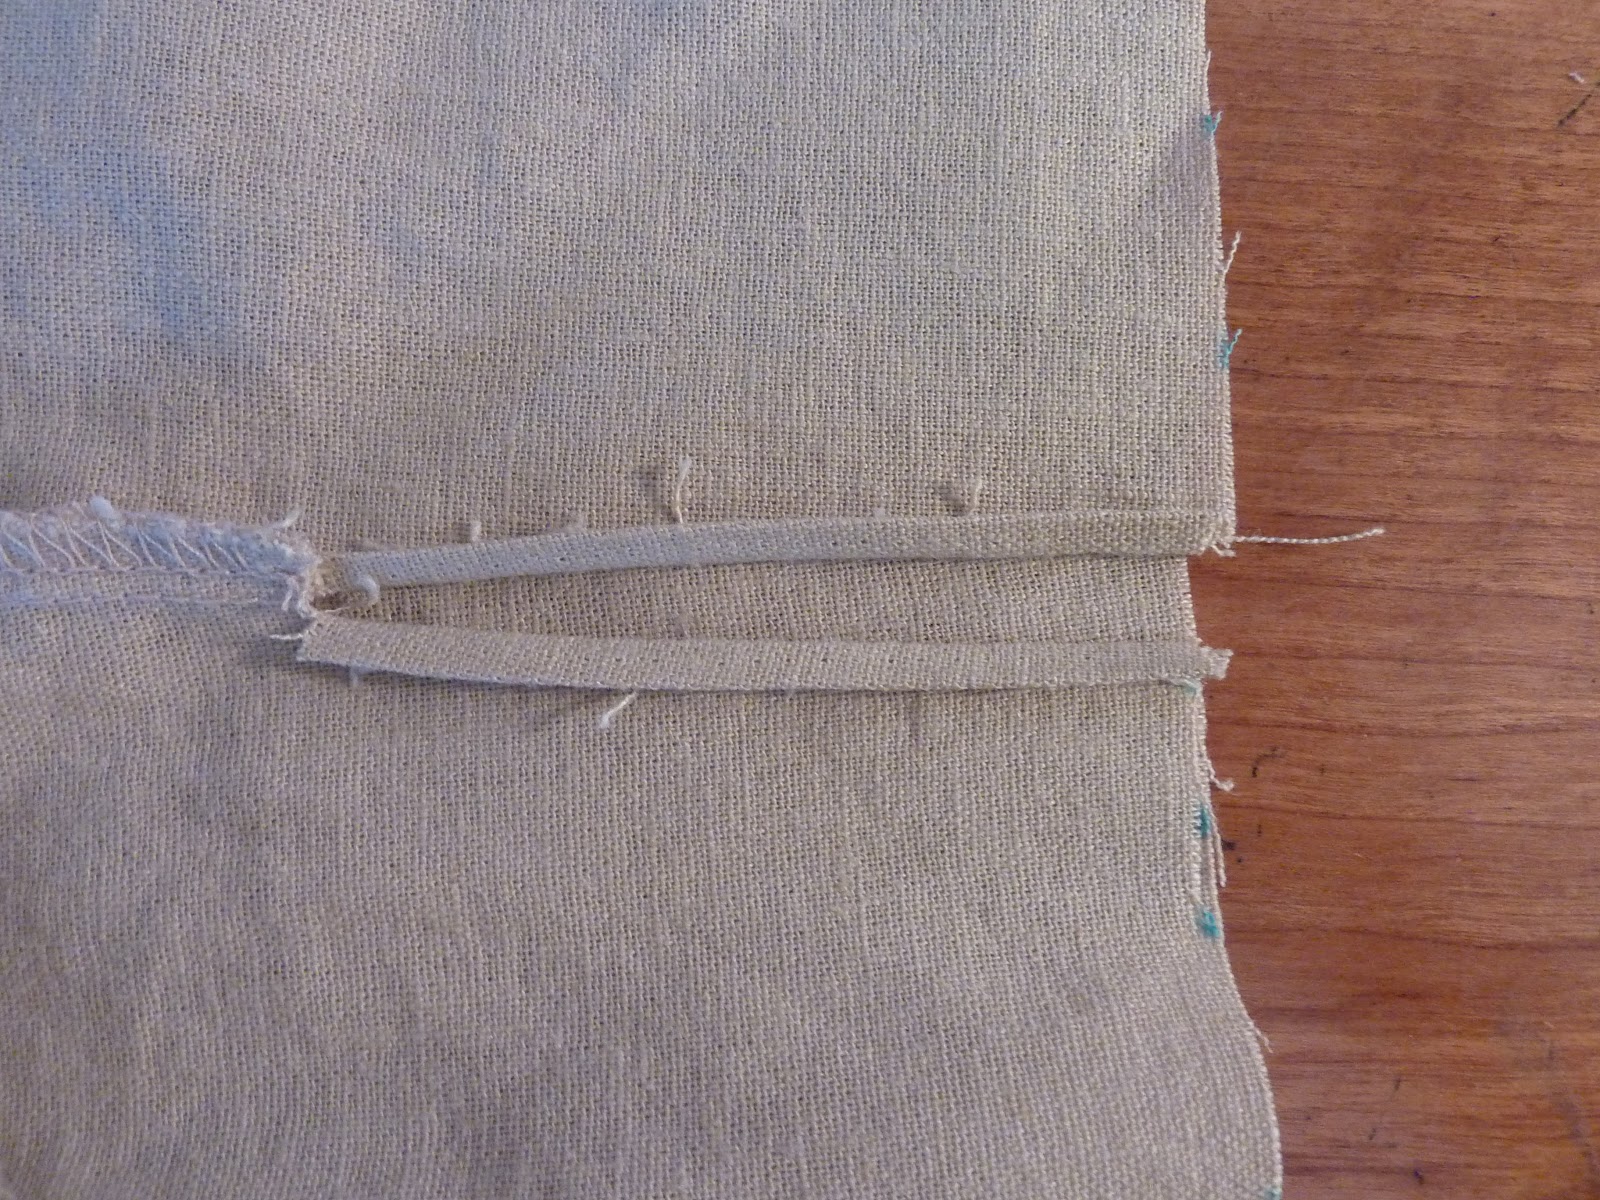
After I marked all the way around, I then cut off the bottom from the top keeping the bottom for the band around the bottom of the knickerbockers.

On the outside seam of the pants, I marked up 3" and opened up the seam. At the top of the opening, I clipped both sides of the pant leg to the inner most seam.
Here is where I hemmed the opening, turning over the raw edge 1/8" and then again...stitching as close to the outer edge of the hem as I could finished the opening.

I ran a gathering stitch along the bottom of the pants and after putting them on Colton then gathered the pant leg.

I had Colton squat down to see if the gathering was loose enough. I didn't want the pants to be too tight hindering sitting or squatting.

Now for the band around the bottom. I opened the inside seams of both bottom pieces and ironed them flat.

Using a measuring tape, I measured the front side of the pants from seam to seam. On this pair of pants, the front and back were the same measurement from seam to seam equaling 14". (I don't personally use measurements much, I eyeball it. But for those who need measurements, this is for you! ;-) )

For the tab, I used the Truly Victorian 1903 Blouse cuff pattern piece. I didn't want the pointed part, so I just folded that under.

Here I took the seam of the bottom of the pants and pinned it to the inside seam of the pants...

After pinning one side of the lower part to one side of the pants, I laid the pattern piece on top. I used a pink pin to mark where the the opening on the outside seam was. The point on the pattern where the pink pin is says, "end sleeve at this point"...The outside of this is what makes the tab.

Just to make sure that there was enough material in the lower leg piece, I went ahead and pinned it to the back of the pant leg. Where the blue headed pin is is where the opening in the outside seam is. There was enough room to have a nice seam allowance!

Laying the lower leg piece flat, I laid the pattern down where my colored pins said I should and thankfully there was enough room on the lower pant leg!!!

Hopefully you can see my stitching. At the top right, you see the hash mark ("end seam at this point"), I sewed from that mark clockwise to 1/2" from the top on the left side.

Clipped corners and pressed seams open.

After turning the cuff inside out, this is how it looked. I attached the cuff to the pants with the tab end (right side in this picture) to the front outside opening, pressed open the seam, folded it over and hand sewed it closed! (I totally forgot to take pictures of this part!!)

Here is it is attached and awaiting a button hole.

Button hole and button in place!

On my sweet boy. I think it turned out really well.

Cody and Colton in their Plus 2s! Next time I may make some Plus 4s!!!
No comments:
Post a Comment